

This is the first miniature cupboard I made myself. It is inspired by a Sylvanian cupboard, which I like very much.
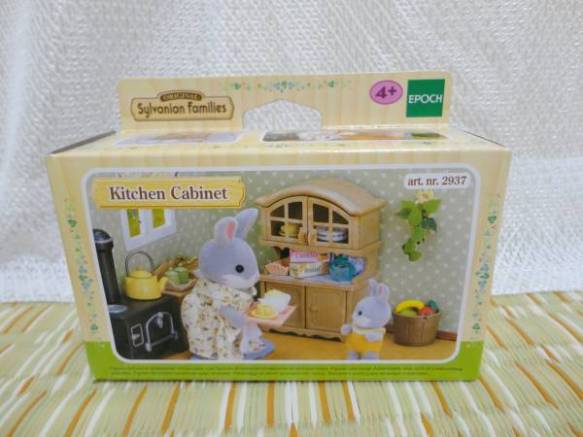
I really wanted my Sylvanians to have a cupboard with a curved top and a cosy, wooden feel to it. I have done some Google research, and found more inspiring rustic designs which I could have used in my cupboard project. I am also very thankfull for the links and ideas other Sylvanian Collectors shared with me.


These dressers were described as Welsh, Dutch, French, English, and more. Their style mainly cottage, but also gustavian, rococo, baroque, and more.
I started with drawing a project. I upgraded it later, when it was necessary in the process.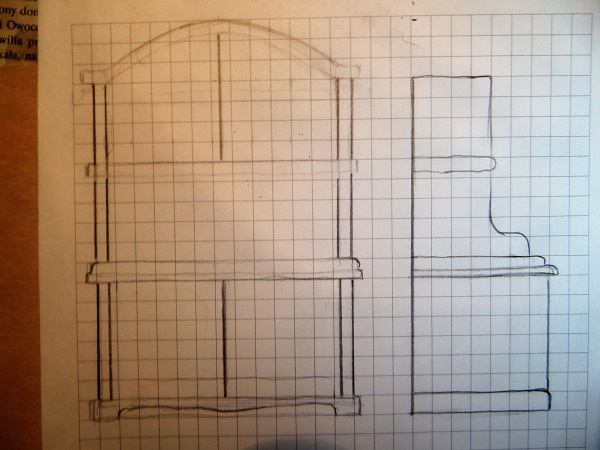
Based on the project, I drew and cut out paper templates for the parts of the cupboard.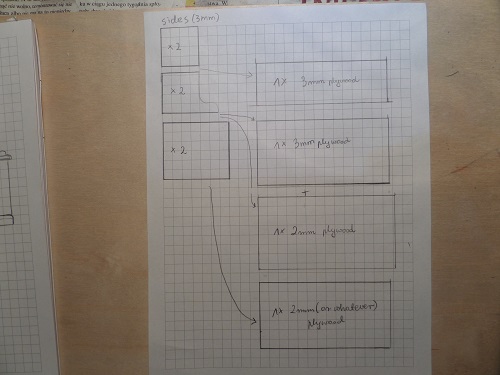
I used them to draw the shapes on plywood. I used craft plywood (birch in my case), 3mm for most of the parts, 2mm and 1,5 mm for the thinner elements.
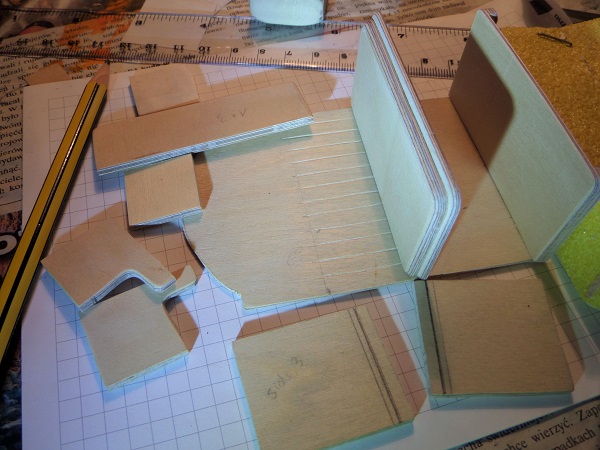
I cut the 3mm plywood with a jigsaw, and the thinner parts with a sharp craft knife and sanded the rough edges.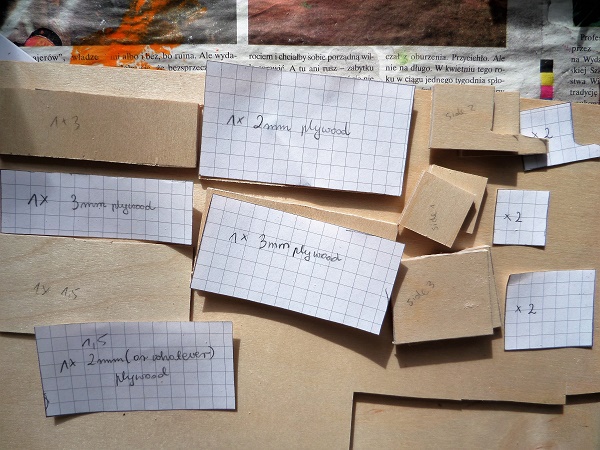
I also cut out the back of the cupboard.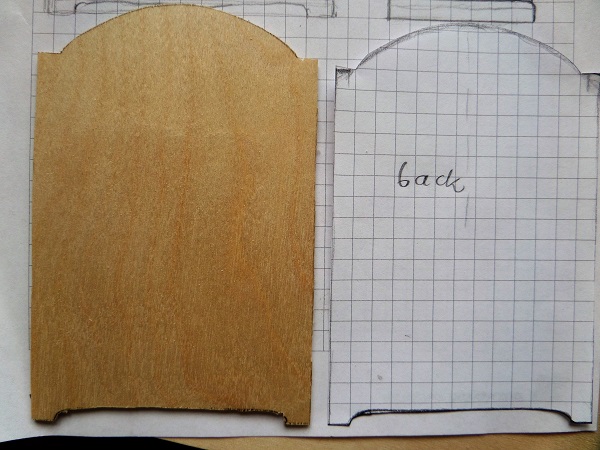
For the countertop I used two pieces of plywood, 3mm and 2 mm. I glued them together and sanded the edges to the shape I wanted. I did not glue it until I have made the doors.
I also carved some lines to imitate wooden boards.
The doors were made of a thin plywood piece and a couple of thin little boards, which I glued on the thin basis. I drilled the hinge holes in the doors and bottom of the countertop, and put the tiny metal pieces cut out of the metal paper clips (the hinges) in these holes in the doors and glued them with epoxy. Next, I put the doors in place and glued the sides and countertop into place.
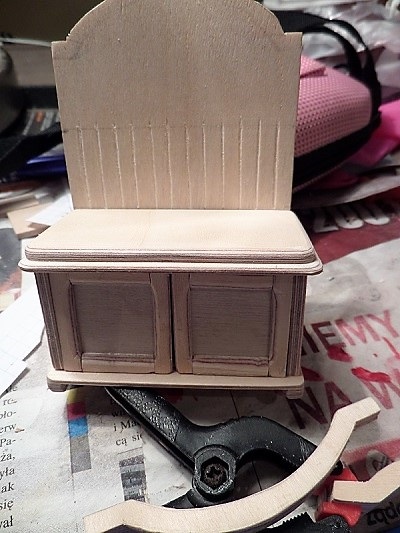
The curved top was made of a couple 3mm curved plywood elements glued together.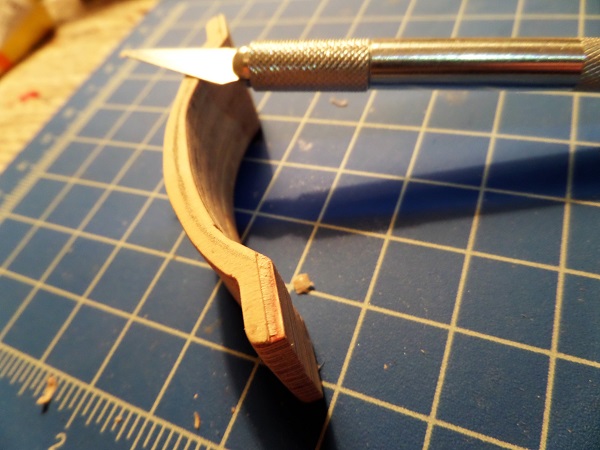
The Georgian bars were made out of pieces cut out of 1,5 mm plywood and glued together.


The process of making the hinges was the same as in the lower part of the cupboard.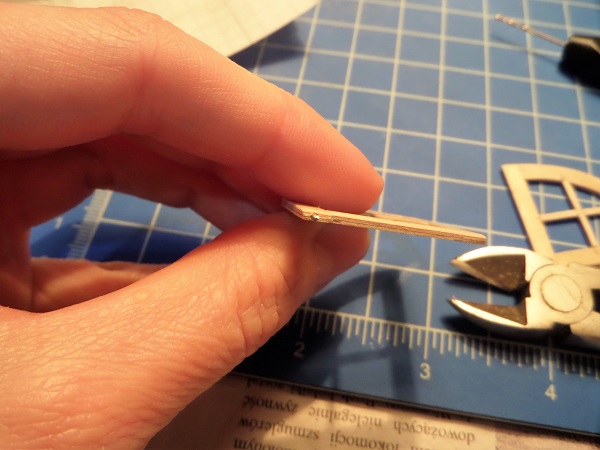
Finally, I put the doors in and glued the sides and top together. 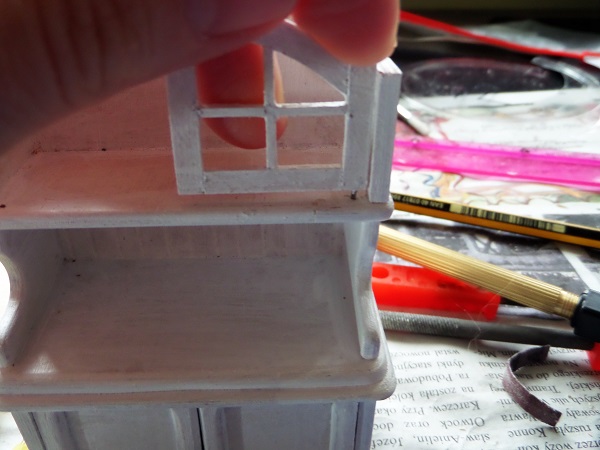
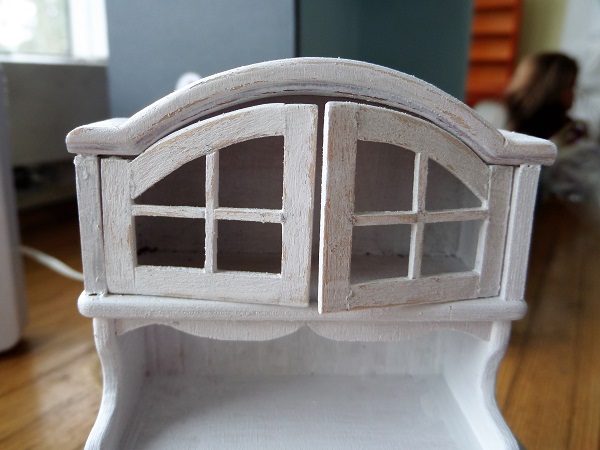
I painted my cupboard with white acrylic paint, intentionally leaving some uneven strokes. For a shabby chic look, I sanded some paint off the edges, to make it look more old.
I also added decorative trimmings to the cupboard.(Optional).

Then I fixed the doorknobs into place with epoxy glue. The tutorial for making them you can find here.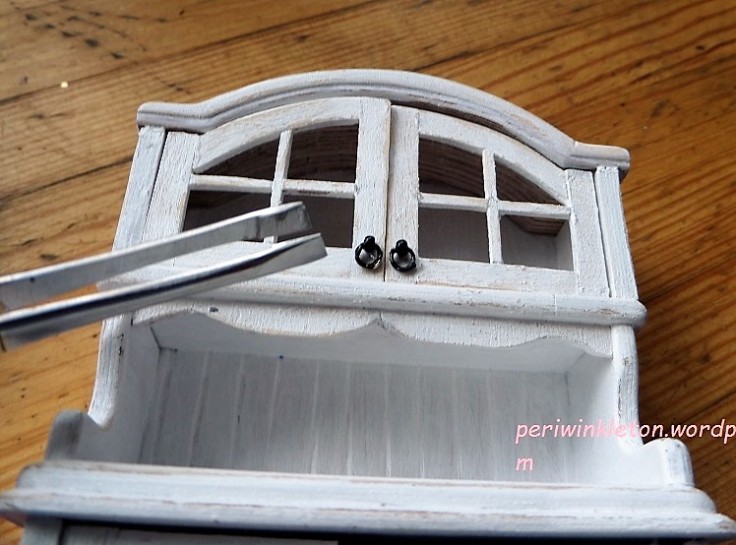
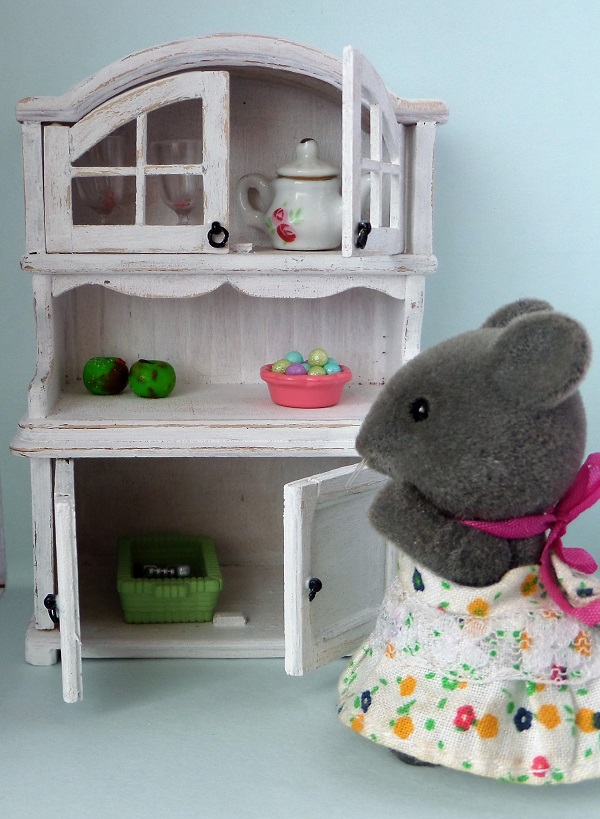
It is done! The Thistlethorn family is excited about their new cupboard. I hope you enjoyed this tutorial.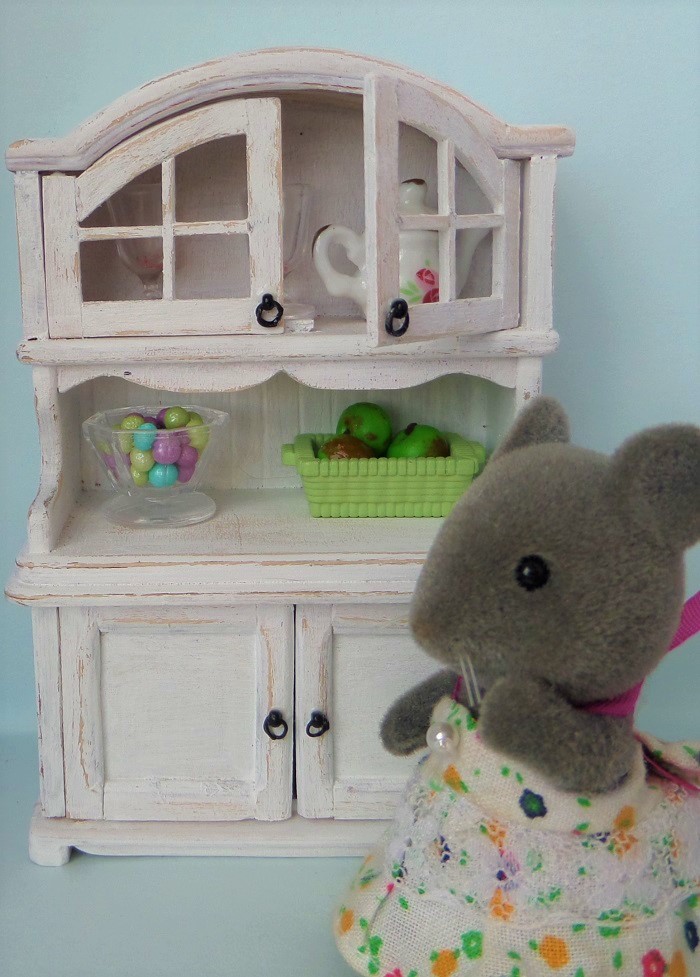

March 16, 2017 at 6:10 pm
This looks wonderful! Thanks for the tutorial.
LikeLiked by 1 person
March 16, 2017 at 6:27 pm
Thank you, Terra 🙂
LikeLike
March 16, 2017 at 10:53 pm
Amazing! You did an excellent job! It looks great. I love the shabby chic look of your cupboard.You must be really proud of it!
LikeLiked by 1 person
March 17, 2017 at 6:50 am
Thanks Cutata. Yes I am pleased with how it turned out. This is the first time I made doors and hinges for anything, so I am happy it worked out. 🙂
LikeLike
March 17, 2017 at 9:40 pm
What you did is totally incredible! This cupboard is really lovely 🙂 I don’t think I could make one as yours but I will take some tips for a custom bookcase. Thank you so much and sorry if I made mistakes in my sentences, Hello from France
LikeLiked by 1 person
March 17, 2017 at 9:44 pm
Thank you Laly for a lovely comment 🙂
LikeLike
March 20, 2017 at 10:14 am
So amazing! You are very talented.
LikeLiked by 1 person
March 20, 2017 at 1:31 pm
Thanks, Piffle 🙂
LikeLike
March 27, 2017 at 8:45 pm
Well done, this is a fabulous project! I love your finished cupboard.
LikeLike
March 28, 2017 at 1:24 pm
Thank you, IcePixie! It was fun to make.
LikeLike